


A house may have a strong foundation and well-designed structure, yet poor finishing can make it look unattractive and create problems for years. Uneven plaster, hollow tiles, damp patches, cracked walls, peeling paint, exposed electrical wires and leaking bathroom floors are common issues that homeowners discover after moving in.
The biggest mistake is treating plastering, plumbing, electrical work, tiling and painting as separate activities without planning their sequence. These jobs depend on one another. For example, if an electrician needs to cut a freshly plastered wall to install a missing conduit, the plaster must be repaired before painting. If bathroom waterproofing is defective, even expensive tiles cannot prevent leakage.
Avoiding Home Plastering Mistakes starts with checking concealed services, selecting suitable materials, using the correct mortar mix, allowing sufficient curing time and inspecting each stage before the next begins.
This guide explains the complete process, from preparing the walls to applying the final coat of paint.
1. Complete Electrical and Plumbing Work Before Plastering
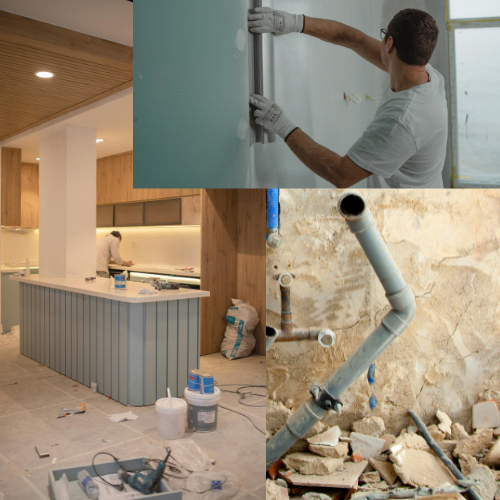
Before plastering begins, inspect every wall, bathroom, kitchen and utility area. Electrical conduits, switch boxes, plumbing pipes and drainage routes should be installed according to the approved drawings.
Check that switchboards are positioned at the correct height and that their locations match furniture, beds, kitchen counters and appliances. Confirm separate circuits and suitable protection for heavy loads such as air conditioners, geysers, induction cooktops and other high-power equipment with a qualified electrician.
Water supply pipes, concealed shower mixers, basin connections and drainage outlets must also be checked before covering them. Conduct appropriate plumbing pressure and leakage tests, and have electrical conduits and wiring checked by a qualified professional before the walls are closed.
Never leave a loose pipe joint or damaged conduit hidden behind plaster. Photograph concealed services and keep the pictures for future drilling and repairs.
Practical tip: Mark the location of pipes and electrical routes on a copy of the floor plan. This simple record can prevent accidental damage when installing shelves, mirrors, cabinets or wall-mounted televisions later.
2. Prepare the Wall Surface Properly
Plaster quality depends heavily on the condition of the surface underneath it. Applying cement mortar over loose dust, oil, weak mortar joints or a very dry background can reduce adhesion and increase the risk of cracks or hollow patches.
For brickwork, remove loose particles and excess mortar from the joints. Check that the wall is reasonably straight and that masonry has been completed and allowed to stabilise sufficiently before plastering. Repair deep gaps and use an approved bonding treatment where the surface requires it.
Concrete surfaces, such as RCC columns and beams, may need a different preparation method because smooth concrete does not behave like brickwork. Follow the plaster or bonding-product manufacturer’s instructions rather than applying an arbitrary cement slurry everywhere.
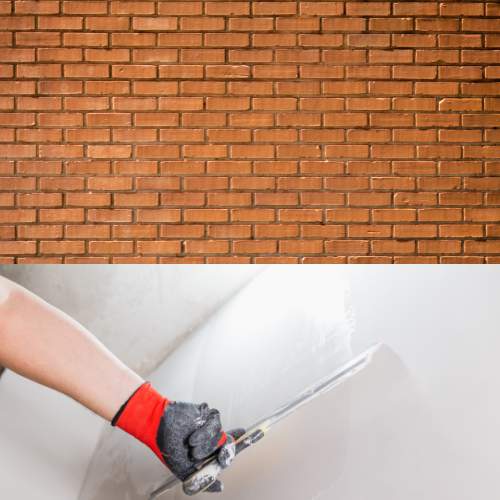
Dampen absorbent masonry appropriately before cement plastering, without leaving standing water. The surface should not rapidly draw moisture from the fresh mortar.
Do not try to hide major structural cracks or significant wall misalignment with an unusually thick layer of plaster. Have the cause assessed and correct the underlying problem first.
3. Choose the Correct Cement-Sand Mortar Ratio
The mortar ratio affects workability, strength, shrinkage and plaster durability. A ratio of 1:4 means one measured part of cement to four measured parts of sand; 1:6 means one part cement to six parts sand.
The appropriate mix depends on the wall material, plaster thickness, exposure conditions, cement type, sand properties and project specifications.
| Application | Common reference ratio by volume | Important consideration |
|---|---|---|
| Internal wall plaster | 1:5 or 1:6 | Follow the approved specification and substrate requirements |
| External wall plaster | 1:4 or 1:5 | Weather exposure and moisture protection matter |
| Ceiling plaster | Often 1:3 or 1:4 where specified | Requires suitable bonding and safe application |
| Tile bedding or screed | Project-specific | Use the specified system and thickness |
These are common reference ratios, not universal prescriptions. The engineer or project specification should determine the final mix. Some surfaces and tile installations require proprietary adhesives rather than conventional cement mortar.
Use clean, appropriately graded sand with controlled silt content. Measure cement and sand consistently using gauge boxes rather than estimating quantities by shovel. Add water gradually to achieve a workable mix; excessive water increases shrinkage and can weaken the finished plaster.
Prepare only the amount that can be used within the permitted working time. Do not restore stiffening mortar by repeatedly adding water, and never use mortar that has begun to set.
4. Apply Wall Plaster in the Correct Sequence
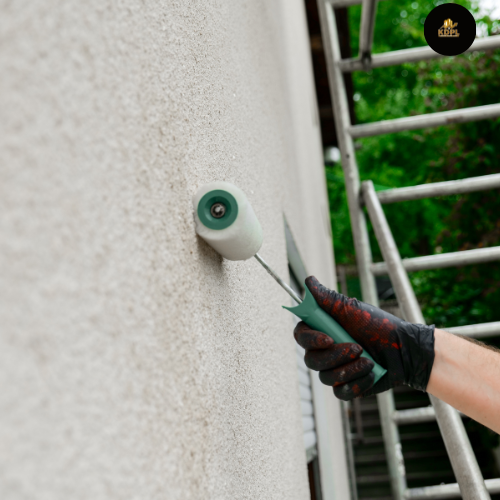
Once the surface is ready, establish reference points or screeds to control plaster thickness and alignment. Corners, door openings, window reveals and junctions between brickwork and RCC elements need particular attention.
Apply the mortar evenly and level it with a straightedge. Avoid unnecessarily thick plaster in one pass. Where substantial correction is required, follow an approved multilayer method or rectify the underlying masonry instead.
Check walls with a straightedge and level, especially around window frames, kitchen cabinets, door jambs and tile-fixing areas. Poor alignment becomes more visible after paint, while uneven surfaces can make cupboards and tiles difficult to install.
At RCC-to-masonry junctions, use the specified crack-control treatment where required. Mesh may be appropriate at certain material transitions, but it should be installed according to the system specification rather than used as a substitute for correcting movement or structural problems.
After plastering, protect the surface from rapid drying, direct harsh sunlight and damaging impact. Cement plaster generally requires proper moist curing; a period of around seven days is a common minimum reference for ordinary cement plaster, but the approved specification and site conditions should govern the actual curing regime.
Do not rush directly to putty or paint just because the wall appears dry on the surface. The plaster must have cured sufficiently and reached an acceptable moisture condition for the selected finishing system.
5. Avoid Mistakes in Floor Plaster, Screed and Tile Preparation
Floor preparation is different from wall plastering. Before laying tiles, the contractor must establish the finished floor level, slab condition, screed thickness, drainage requirements and the final height of adjoining rooms.
In bathrooms, balconies and other wet areas, the floor must slope toward the drain. The slope should be formed in the substrate or approved bedding system, not created by leaving uneven tile joints. Door thresholds and adjoining room levels should be planned to reduce water escape and tripping hazards.
Waterproofing should be installed at the specified stage, with appropriate treatment at corners, pipe penetrations and wall-floor junctions. Complete the required curing and water-retention or flood test before covering the waterproofing with the next layer.
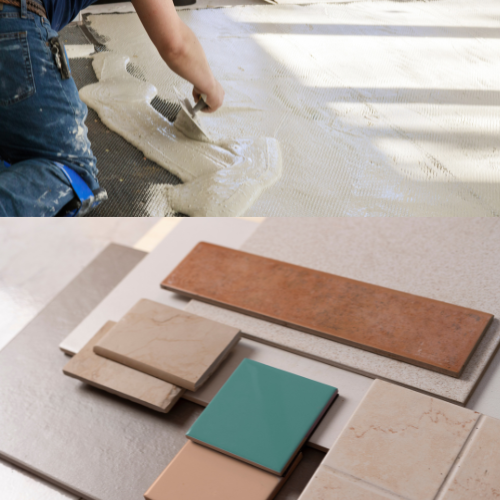
For living rooms and bedrooms, check that the substrate is sound, level and suitable for the selected tile adhesive. Large-format tiles may need stricter flatness tolerances and a compatible adhesive. Do not use ordinary wall plaster as a shortcut to correct a badly uneven floor.
6. Select Tiles, Adhesive and Grout Carefully
Tiles should be selected before final floor levels and bathroom layouts are fixed. Their thickness, dimensions and installation method affect finished heights and the positioning of doors, drains and sanitary fittings.
Inspect tile boxes for consistent size, shade, batch and surface finish. Keep some spare tiles from the same batch for future repairs. Dry-lay tiles where appropriate to check the layout, avoid awkward narrow cuts and align joints with important room features.
Use a tile adhesive suitable for the tile type, substrate and wet or dry location. Follow the product’s mixing, open-time, bed-thickness and curing instructions. For large tiles, the installer may need to use an appropriate back-buttering method to improve coverage.
Do not assume that every tile should be fixed with a thick cement-sand bed. Incorrect bedding can lead to poor bonding, hollow spots or uneven finishes. Maintain the specified grout joints and use a grout suitable for the area.
Movement joints and perimeter gaps must not be rigidly filled where the installation system requires flexibility. Seal changes of plane, such as wall-to-floor corners in wet areas, using the specified flexible sealant.
After installation, protect the tiled surface from heavy traffic until the adhesive and grout have cured as required.
7. Complete Putty, Primer and Paint in the Right Order
Painting should begin only after the plaster is sufficiently cured, dry and sound for the chosen products. Excess moisture, dust, loose particles and efflorescence can cause peeling, bubbling or patchy colour.
A reliable finishing sequence is:
Step 1: Inspect the plaster. Check for cracks, hollows, rough areas, damp patches and uneven corners. Correct the underlying cause of defects before covering them.
Step 2: Prepare the surface. Remove dust, loose material and contaminants. Treat any persistent dampness or salt deposits appropriately instead of simply painting over them.
Step 3: Apply the compatible primer. Use the primer specified for the substrate and paint system. Follow the manufacturer’s coverage and drying instructions.
Step 4: Apply wall putty if required. Use suitable interior or exterior putty according to the location and product specification. Apply thin, even coats rather than a thick layer intended to hide major surface defects. Allow each coat to dry and sand it smooth as directed.
Step 5: Apply primer again if the system requires it. Some paint systems specify a primer coat after putty and sanding. Follow the complete manufacturer’s system rather than assuming one sequence fits every product.
Step 6: Apply the finish paint. Use the recommended number of coats, maintaining the stated coverage and drying time. Two finish coats are common for many systems, but the product instructions and desired coverage determine the final requirement.
Use exterior-grade products on exposed external walls. Interior putty and interior emulsion should not be treated as substitutes for weather-resistant exterior systems.
Before painting the entire house, make a sample patch to check the colour under daylight and artificial lighting. Different lighting conditions can make the same shade appear warmer, cooler or darker.
8. Plan Electrical Fittings and Plumbing Fixtures Before Final Finishing
Before final painting and fixture installation, check that switchboards, sockets, light points, exhaust fans and distribution boards are in their planned positions. A qualified electrician should complete wiring, earthing, circuit protection and the required tests before the system is put into service.
Do not allow exposed joints, overloaded circuits or improvised connections to be concealed behind switch plates. Wet areas require suitable electrical protection and equipment selected for the location.
For plumbing, confirm that taps, mixers, basins, toilets, floor traps and shower fittings align with the approved layout. Test water flow, drainage and connections. Check for leaks around concealed pipes and sanitary fixtures before handing over the bathroom.
Use suitable sealants around sanitary fittings where required. Sealant should not replace correct waterproofing or a properly installed plumbing connection.
9. Final Inspection Checklist Before Handover
Walk through each room in daylight and under artificial lighting. Check wall straightness, corners, paint consistency, tile alignment, grout joints, floor slope, door movement and window operation.
Tap tiled areas lightly to identify suspicious hollow-sounding spots, but have uncertain areas assessed by the installer rather than judging every sound as a defect. Run water in bathrooms and balconies to confirm drainage. Inspect ceilings and walls for damp patches, especially below bathrooms and around plumbing routes.
Test electrical circuits through a qualified electrician and check that switches and sockets operate safely. Make sure all plumbing fixtures work, drains are clear and access panels remain available for serviceable components.
Record defects in writing and ask the contractor to rectify them before final payment. Keep product details, warranties, invoices, concealed-service photographs and maintenance instructions.
Conclusion: Good Finishing Comes From Good Sequencing
Avoiding home plastering mistakes is not just about choosing expensive cement, paint or tiles. The result depends on coordinating electrical and plumbing work, preparing surfaces, using specified mortar mixes, curing plaster properly, waterproofing wet areas and allowing each finishing layer to dry or cure as required.
Do not cover defects simply to meet a deadline. Inspect each stage before the next trade begins, and use qualified professionals for structural concerns, electrical installation and plumbing tests. A written specification and a careful handover inspection can prevent many avoidable repairs and help your home retain its finish for years.
Frequently Asked Questions
1. What is the correct cement-sand ratio for wall plaster?
Ratios such as 1:5 or 1:6 are common references for internal plaster, while 1:4 or 1:5 may be used externally. The approved specification, substrate and exposure conditions should determine the actual mix.
2. How long should cement plaster be cured?
Around seven days is a common minimum reference for ordinary cement plaster, although the required period depends on the specification, materials and conditions. Follow the site engineer’s instructions and protect the surface from rapid drying.
3. Should electrical wiring be completed before plastering?
Conduits, switch boxes and concealed routes should be installed and inspected before plastering. Wiring and safety testing should be completed by a qualified electrician at the appropriate stage before the system is energised.
4. Should plumbing be tested before covering the pipes?
Yes. Concealed water supply pipes should undergo the specified pressure test, and drainage connections should be checked for leakage and correct flow before they become inaccessible.
5. Can tiles be installed directly over uneven plaster or flooring?
No. The substrate must meet the flatness and strength requirements of the tile installation system. Correct unevenness before tiling, and use a compatible adhesive or bedding system.
6. Is waterproofing necessary under bathroom tiles?
Yes. Bathrooms and other wet areas need a suitable waterproofing system installed and tested before the protective layers and tiles cover it. Tiles and grout alone are not a dependable waterproofing system.
7. Should putty be applied before primer or after primer?
The sequence depends on the manufacturer’s system. Some products require primer before putty and another primer coat afterward; others specify a different sequence. Follow the complete system instructions.
8. Why does wall paint peel or develop bubbles?
Common causes include moisture, insufficient curing or drying, dust, poor surface preparation, incompatible products and incorrect application. Identify and correct the underlying cause before repainting.
9. How can I prevent cracks in wall plaster?
Use suitable mortar, prepare the substrate properly, control plaster thickness, cure correctly and treat material junctions as specified. Structural or recurring cracks should be assessed rather than hidden with putty.
10. What should I inspect before making the final contractor payment?
Check plaster finish, paint coverage, tile alignment, grout, drainage slopes, waterproofing test records, plumbing leaks, electrical safety checks, door and window operation, and completion of agreed repairs. Keep the written defect list and relevant product documents.