
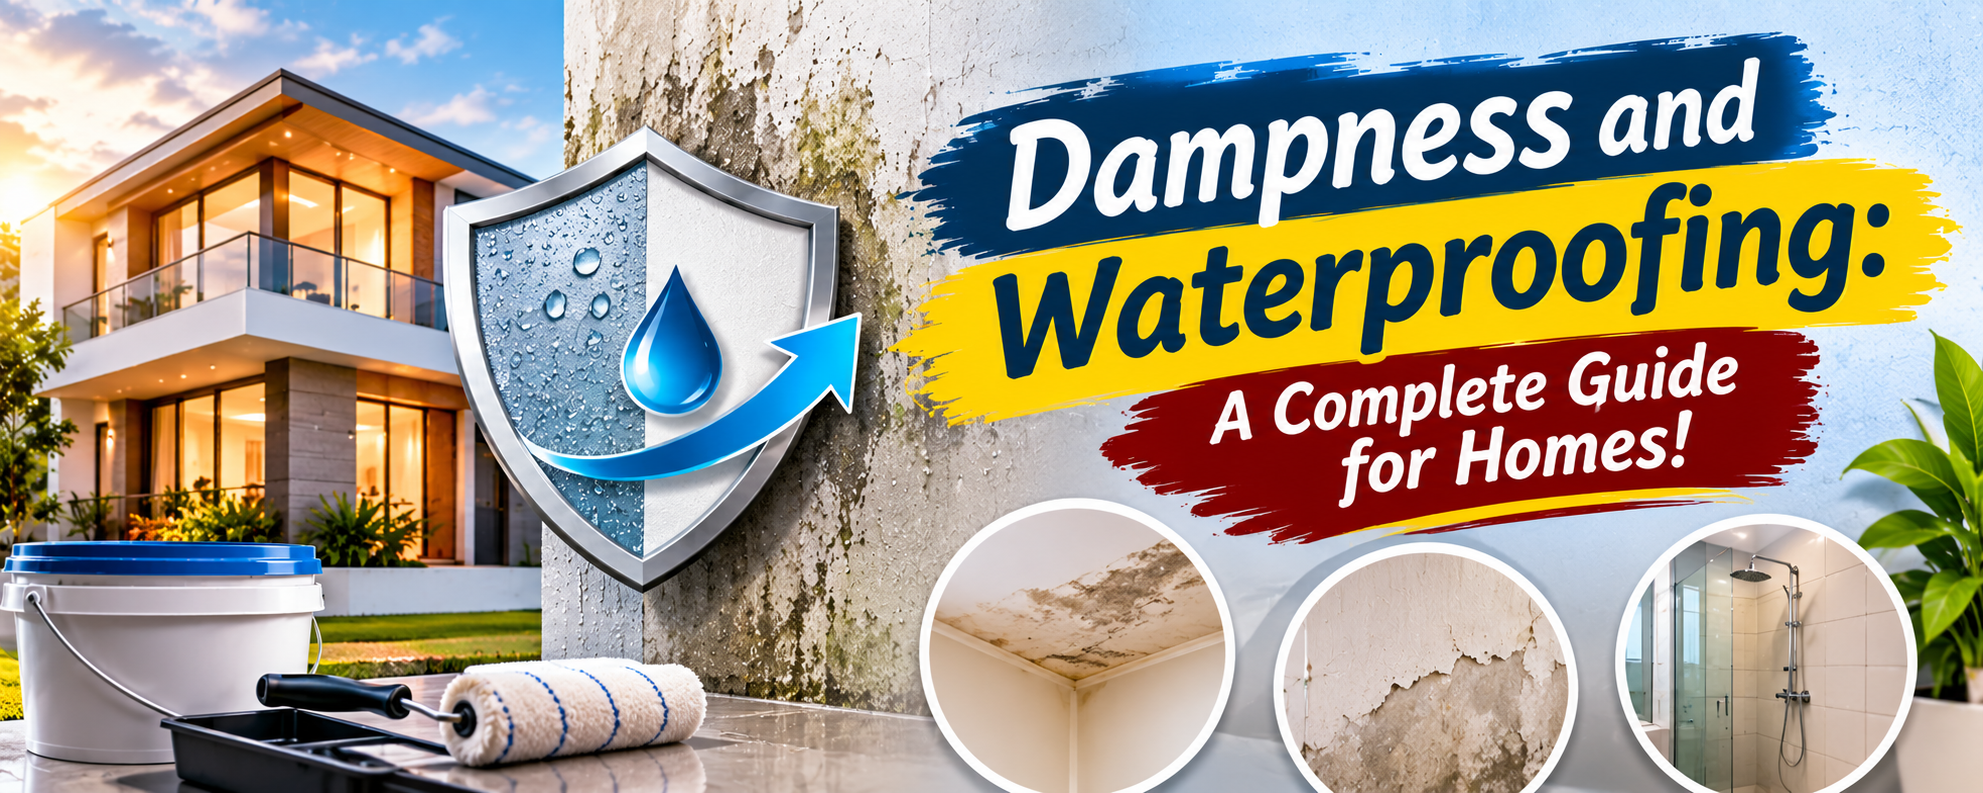

Dampness is one of the most common problems in residential buildings. It can appear as peeling paint, wet patches, white salt deposits, mould, unpleasant smells or water dripping from ceilings. Many homeowners try to solve the problem by applying fresh paint, putty or a waterproof coating. Unfortunately, these treatments often fail because the actual source of moisture has not been identified.
Effective waterproofing begins with understanding where water is entering and why. Roof exposure, damaged plumbing, poor drainage, leaking bathroom joints, external wall cracks and moisture rising from the ground all require different solutions.
In this guide, we explain practical dampness-control methods, commonly used waterproofing chemicals, their applications and the best practices for long-lasting results.
1. Identify the Cause Before Starting Waterproofing
First, inspect the affected area carefully. The location and appearance of dampness can provide useful clues.
Ceiling dampness: Often caused by terrace leakage, damaged roof waterproofing, rainwater outlets or plumbing above the ceiling.
External wall seepage: May result from cracks, damaged exterior paint, open joints or poor rainwater drainage.
Dampness near the floor: Can indicate rising damp, groundwater exposure, plumbing leakage or moisture entering through the floor.
Bathroom and kitchen dampness: Often develops around pipes, floor traps, tile joints, sink connections and shower areas.
Do not assume that every damp patch is caused by rain. A concealed plumbing leak can create similar symptoms. If the source is unclear, arrange a plumbing inspection or a professional moisture assessment before covering the surface.
2. Best Waterproofing Methods for Roofs and Terraces
Roofs receive direct sunlight, rainwater and temperature changes. Over time, cracks, weak joints and damaged waterproofing layers can allow water to enter the slab.
Common solutions include:
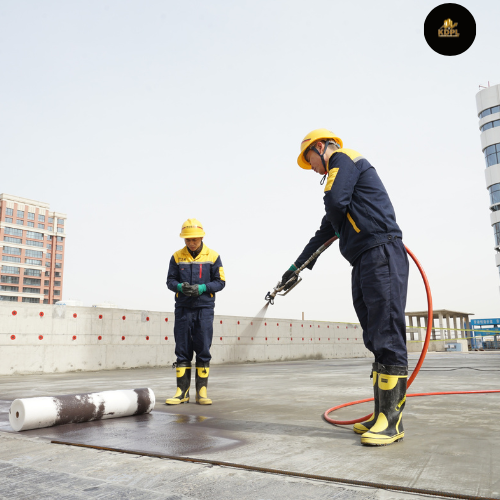
Acrylic waterproofing coating: This is a flexible, liquid-applied coating commonly used on suitable exposed terraces. It is generally applied in multiple coats over a properly prepared surface, often with reinforcing mesh at vulnerable joints where the product system requires it. It must have the correct thickness and drying time.
Polyurethane (PU) waterproofing: PU coatings form an elastic waterproof layer and are useful for certain exposed roofs, balconies and complex surfaces. The substrate must be dry or within the product’s permitted moisture limits. Primer, coating thickness and protection against sunlight must follow the manufacturer’s system.
Cementitious waterproofing: Cement-based polymer-modified coatings are commonly used on concrete surfaces, particularly in areas that will receive tiles or protective screed. They are useful for suitable roof and wet-area applications, depending on the product specification.
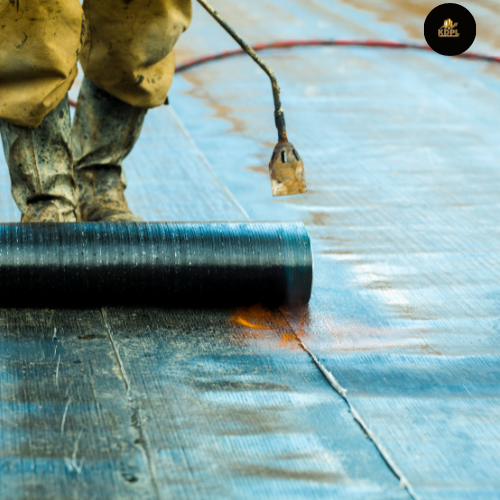
APP or SBS modified bitumen membranes: These sheet membranes are used in terrace and roof waterproofing systems. They are installed with specified overlaps and properly treated corners and outlets. Torch-applied membranes require trained professionals and fire precautions.
Best practice: Remove loose material, repair cracks using a suitable repair system, clean the surface and ensure correct slope towards rainwater outlets. Treat parapet-wall junctions, pipe penetrations and drainage outlets carefully. A waterproof coating cannot compensate for standing water caused by poor drainage.
3. Waterproofing Chemicals for Damp Walls
Wall dampness needs a solution based on the source of moisture.
Silane and siloxane water repellents: These are generally used on suitable exterior masonry, brickwork and concrete surfaces. They reduce water absorption while allowing many treated surfaces to remain vapour-permeable. Apply only to compatible, clean and properly prepared surfaces.
Cementitious waterproofing compounds: Polymer-modified cementitious products can be applied to suitable concrete or masonry surfaces. They are often used on internal wet-area walls and selected external surfaces. Some systems require two coats and a specific application direction.
Crack-filling repair compounds: Flexible exterior crack fillers or compatible repair mortars help close small surface cracks before applying a protective coating. Moving or structural cracks require professional assessment rather than simply filling them.
Damp-proof injection chemicals: Where rising damp is confirmed, specialised silane or siloxane cream or liquid injection systems may create a chemical damp-proof course in suitable masonry. The drilling pattern, injection depth and spacing must follow the system instructions. This is not a universal solution for every damp wall.
Remember that applying waterproof paint over an actively wet wall usually hides the symptom rather than fixing the cause.
4. How to Prevent Dampness in Bathrooms
Bathrooms are exposed to frequent water splashes, steam and regular cleaning. Waterproofing should ideally be completed before tiles are installed.
A reliable process includes:
Clean and prepare the floor and wall surfaces.
Repair cracks, pipe openings and weak joints.
Apply the specified primer if required.
Apply a compatible cementitious or other approved wet-area waterproofing system.
Reinforce corners, floor-wall junctions, pipe penetrations and drain connections using the system’s recommended accessories.
Allow the coating to cure or dry as instructed.
Conduct a controlled ponding or flood test where appropriate, following the project specification.
Install tile adhesive and tiles without damaging the waterproofing layer.
Do not depend on tile grout alone to waterproof a bathroom. Grout and silicone joints are maintenance components, not substitutes for a continuous waterproofing membrane.
5. How to Control Kitchen Dampness
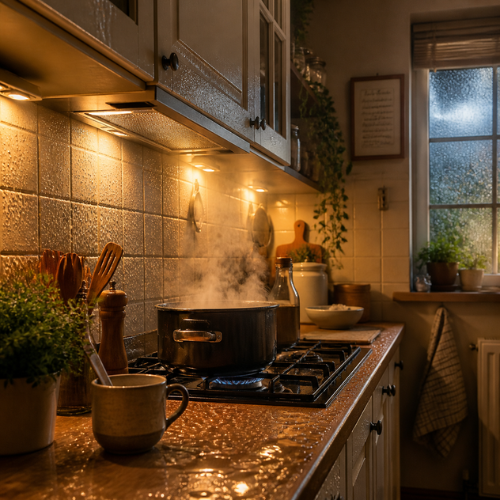
Kitchen dampness commonly develops below sinks, around water supply pipes, behind cabinets and near washing-machine connections.
Check sink traps, flexible hoses, taps and concealed plumbing for leakage. Seal suitable countertop and sink joints with compatible sanitary-grade silicone. Use proper waterproofing below the floor tiles and around vulnerable pipe penetrations when constructing or renovating the kitchen.
For areas exposed to regular splashes, use suitable washable and moisture-resistant finishes. Keep cabinets slightly separated from persistently wet surfaces where practical, and ensure the kitchen has adequate ventilation or an exhaust system.
If dampness appears behind cabinets, inspect the wall before replacing the furniture. A hidden pipe leak or external wall seepage may be responsible.
6. Important Waterproofing Materials and Their Uses
| Material or chemical | Common application |
|---|---|
| Acrylic waterproof coating | Suitable exposed roofs and terraces |
| PU waterproof coating | Roofs, balconies and selected wet areas |
| Polymer-modified cementitious coating | Bathrooms, concrete and tiled wet areas |
| Silane/siloxane water repellent | Compatible external masonry |
| Flexible crack filler | Small non-structural surface cracks |
| Damp-proof injection cream | Confirmed rising damp in suitable masonry |
| Waterproof repair mortar | Concrete cracks and damaged surface repairs |
Always check the technical data sheet, surface compatibility, coverage, number of coats, curing time and required protection. Products from different manufacturers should not be mixed unless the manufacturer confirms compatibility.
7. Best Practices for Long-Lasting Waterproofing
Even good chemicals can fail when the application is incorrect. Follow these practical rules:
Use the correct primer: Apply only the primer specified for the selected product.
Prepare the surface: Remove dust, algae, loose paint, oil and weak plaster before application.
Repair first: Fill suitable cracks and repair damaged concrete before applying the waterproofing system.
Control moisture: Follow the product’s requirements for surface dryness or dampness. Different chemicals have different application conditions.
Follow coat thickness: More coating is not automatically better. Maintain the specified coverage and thickness.
Respect curing time: Do not rush the next coat, tile installation or water exposure.
Treat junctions carefully: Corners, outlets, pipe sleeves and wall-floor connections are common failure points.
Test before covering: Where specified, test the waterproofing before installing tiles, screed or other finishes.
Maintain drainage: Clean terrace outlets and rainwater pipes regularly.
Use trained applicators: Large roofs, recurring leakage and complex wet areas should be handled by experienced waterproofing professionals.
8. When Should You Call a Waterproofing Professional?
Seek professional help if dampness repeatedly returns, concrete is cracking or breaking, reinforcement is exposed, water is entering electrical areas, or leakage continues despite repairs. A specialist can investigate concealed plumbing, external drainage, rising damp and structural defects.
For a home in a heavy-rainfall or humid period, inspect the terrace, external walls, bathrooms and plumbing connections before the monsoon. Early repairs are generally easier than treating widespread damage after water has entered the building.
Conclusion
Long-lasting dampness control is not about selecting the most expensive waterproofing chemical. It is about identifying the source of water, choosing a compatible treatment and applying it correctly. Roof coatings, cementitious membranes, PU systems, masonry water repellents and damp-proof injection products each have specific uses.
For bathrooms and kitchens, waterproofing should be planned beneath the finished tiles. For walls and terraces, cracks, drainage and vulnerable junctions need proper attention. With correct preparation, professional application and regular maintenance, homeowners can reduce seepage, protect finishes and improve the durability of their buildings.
Frequently Asked Questions
1. Which chemical is best for stopping roof leakage?
There is no single best chemical for every roof. Acrylic coatings, PU systems, cementitious coatings and modified bitumen membranes are used in different situations. Select according to the roof surface, water exposure, drainage and product specifications.
2. How can I permanently stop dampness on walls?
First identify whether the moisture comes from rain, plumbing, condensation or rising damp. Repair the source, allow the wall to dry appropriately, remove damaged material and apply a compatible treatment before repainting.
3. Can waterproofing chemicals be applied over old paint?
Usually, loose, peeling or poorly bonded paint must be removed. Some products may be compatible with sound coatings, but this must be confirmed in the manufacturer’s instructions.
4. What is the best waterproofing for a bathroom?
A suitable cementitious or other approved wet-area membrane is commonly used beneath bathroom tiles. Corners, drains, pipe openings and wall-floor junctions require special treatment.
5. How do I stop dampness below the kitchen sink?
Inspect the tap connections, supply hoses, waste pipe, trap and sink joints. Repair leaks and seal compatible joints. If the wall or floor remains damp, investigate concealed plumbing or seepage from adjoining areas.
6. What is the difference between acrylic and PU waterproofing?
Acrylic coatings are commonly used on suitable exposed roofs and terraces. PU systems provide an elastic waterproof membrane and are used in selected demanding applications. Their exposure limits, primers and application requirements differ.
7. Does waterproof paint permanently solve wall dampness?
No. Waterproof paint may reduce surface water absorption in suitable conditions, but it cannot reliably stop active plumbing leaks, rising damp or water entering through structural cracks.
8. How many coats of waterproofing chemical are required?
It depends on the product and application. Many systems require two or more coats, but the exact number, coverage, thickness and interval between coats must follow the technical data sheet.
9. How can I prevent terrace leakage during the monsoon?
Inspect the roof before the rainy season, repair cracks, check parapet junctions, maintain the correct slope and clean rainwater outlets. Repair damaged waterproofing before heavy rainfall begins.
10. How long does waterproofing last?
Its service life depends on the material, surface preparation, application quality, weather exposure, drainage and maintenance. Regular inspections and timely repairs help extend the life of the waterproofing system.